Installing the Samsung Emulator Skin for Eclipse
Installing the Samsung Emulator Skin for Eclipse
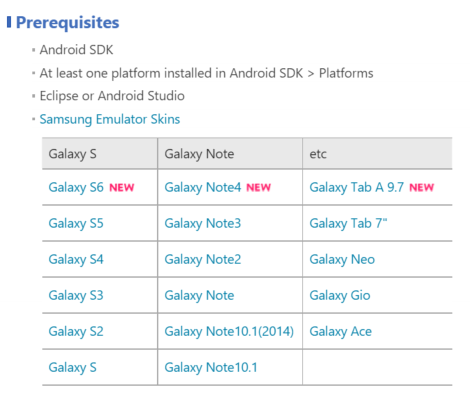
If you’re developing your Mobile Application using Android Eclipse there are different skins you can use on the emulator. In particular, Samsung has created a few already that you can download and save to your android SDK platform. You can go to this link to download the skins. There are a number of Samsung Skins including the Samsung Galaxy S6, Note 4 and Tab A 9.7.

Source: Samsung Developer Page
Once you have downloaded the skin you need to extract to a folder in your Eclipse SDK e.g.
sdk\platforms\android-19\skins
I have been using version 19 of the API but you can place multiple copies in the different versions if you want.
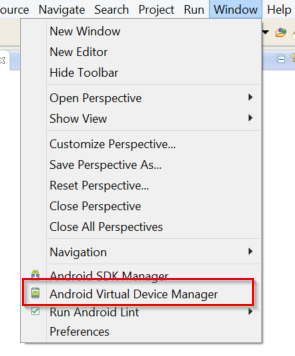
Once you have copied the files, launch the Eclipse and go to Window – Android SDK and AVD Manager
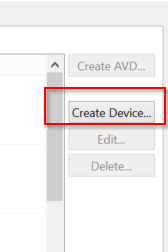
This will start the AVD Manager. Click on Device definitions and click Create Device.
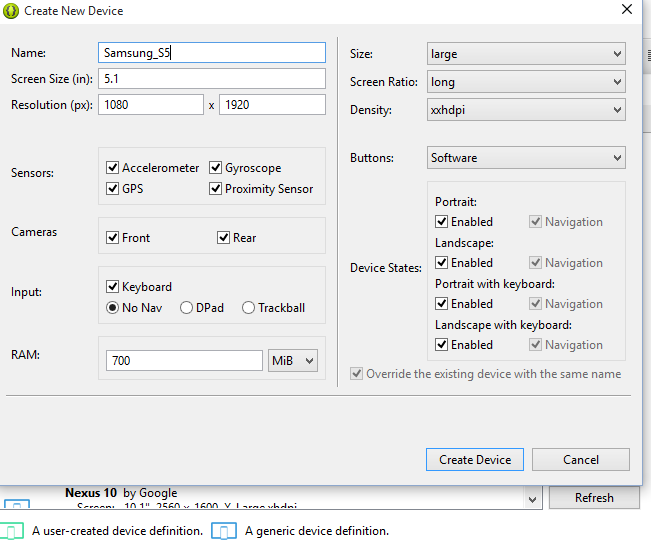
Enter the relevant details. You can find these details on the Samsung page where you downloaded the skin. Once you enter all the information click on Create Device.
NOTE: For some reason, I wasn’t able to press the Create Device so I cloned an existing device and edited the settings.
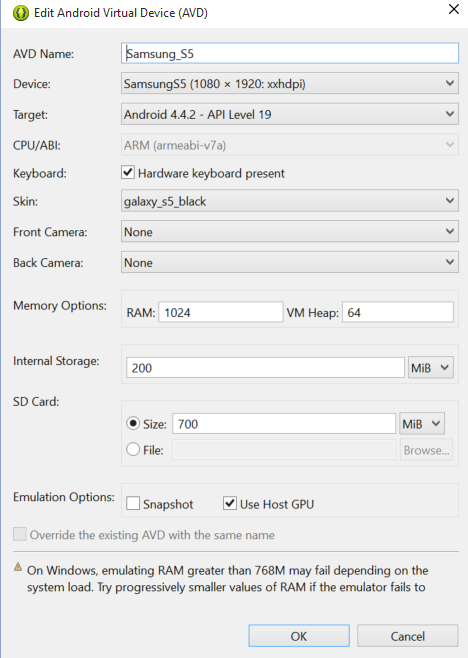
Now on the AVD Manager page click on Android Virtual Devices Tab and then Create.
In the Skin section, make sure you select the Samsung skin.
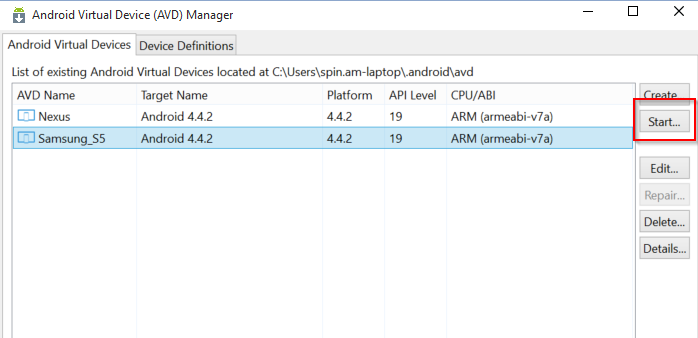
Click on the Start Button to launch the Samsung emulator with the new skin.
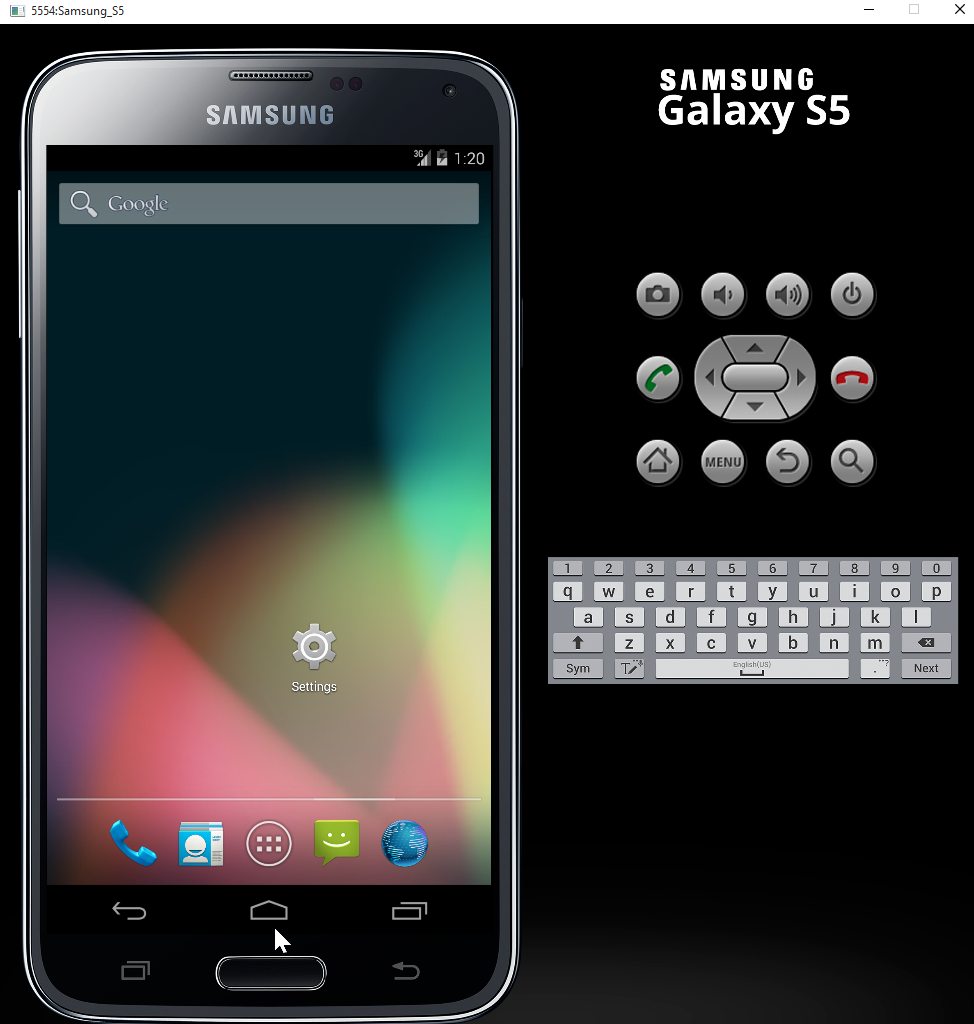
The Samsung Emulator will start.


