Installing and Starting the SQLite manager for Firefox

Installing and Starting the SQLite manager for Firefox
There are a number of articles splattered across the Internet about using the Firefox Addon called SQLite Manager for editing your Android Application SQL database but there are not many that mention on how to install and start the Firefox addon (in particular when using the latest version of Firefox). To be honest, I too found it difficult to figure out how to start the program after installing it and because of that, I decided to provide some basic instructions.
INSTRUCTIONS FOR INSTALLING AND STARTING THE SQLITE MANAGER FOR FIREFOX
The first step, is to download Firefox if you don’t have it on your computer. Click here. Yes it’s Free.
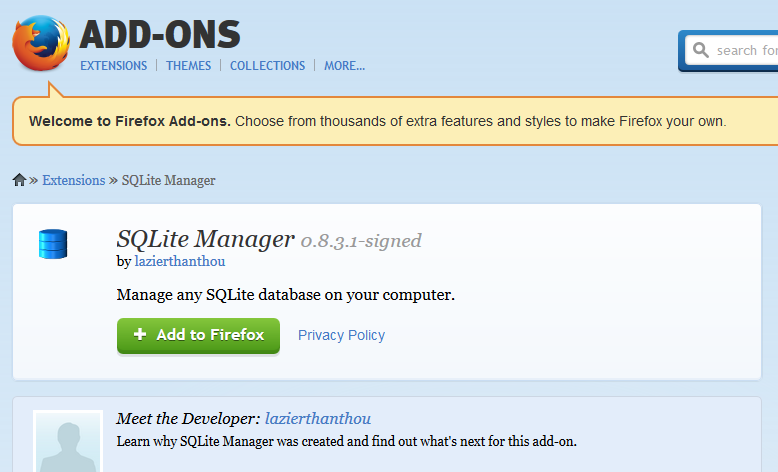
Go to the Firefox Addons page for SQLite Manager by Clicking Here. Yes it’s also Free. To install it Click on Add to Firefox
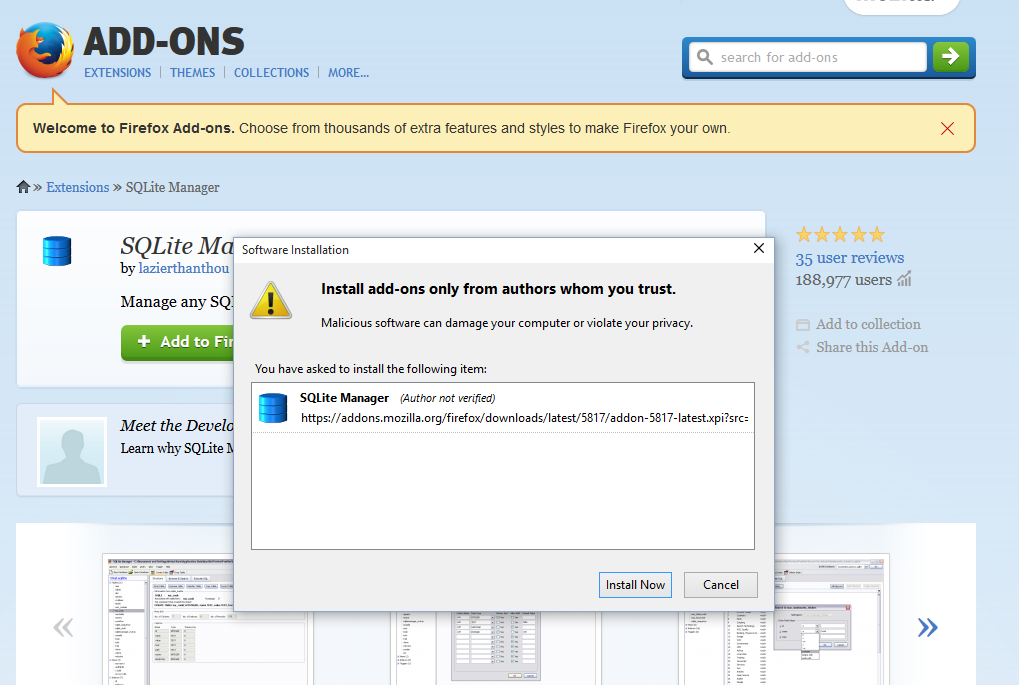
Click on Install
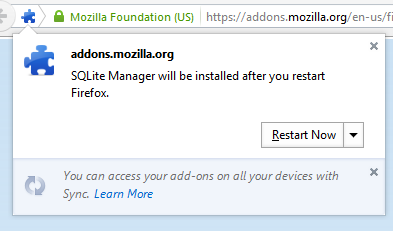
You will prompted to restart. Press restart now.
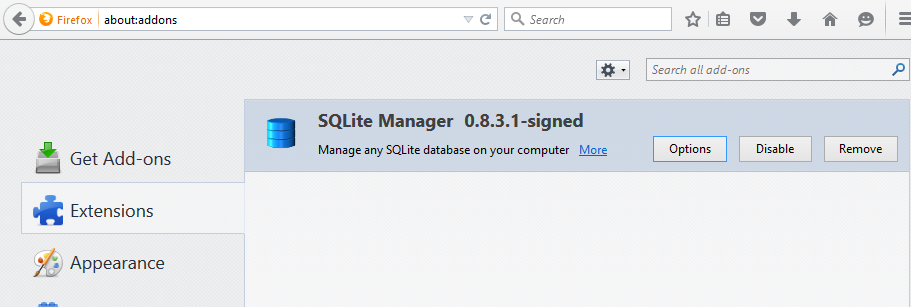
To confirm the Addon has been installed open Firefox and type about:addons and it should be listed like below. If it’s not enable then Click on the Enabled button.
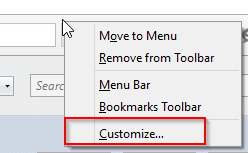
Now right click at the top of the Toolbar and select Customize
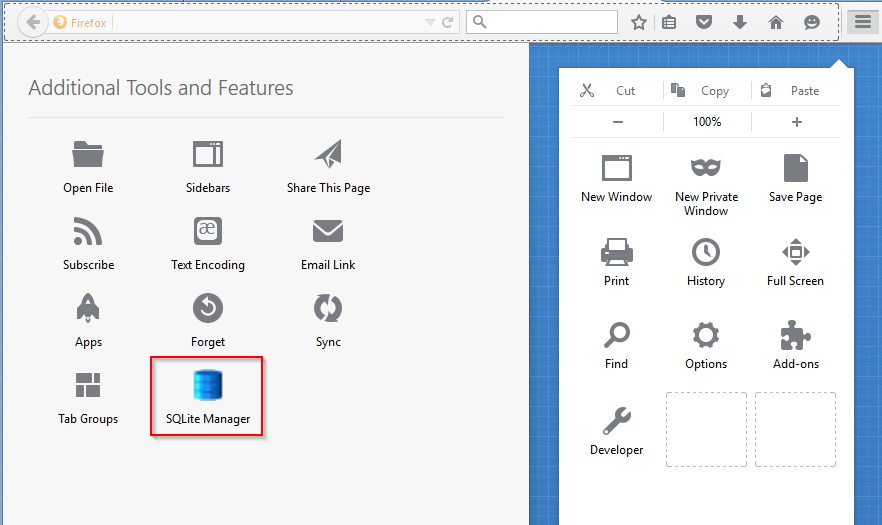
You will now see the SQLite Manager icon on the left hand side.
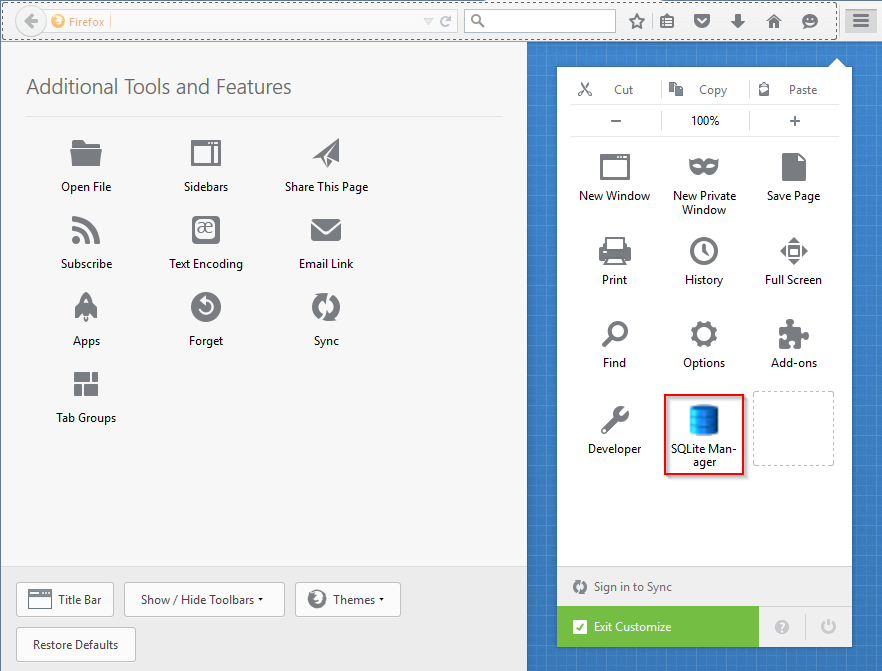
Drag it and drop it on the right next to Developer. Just like this.
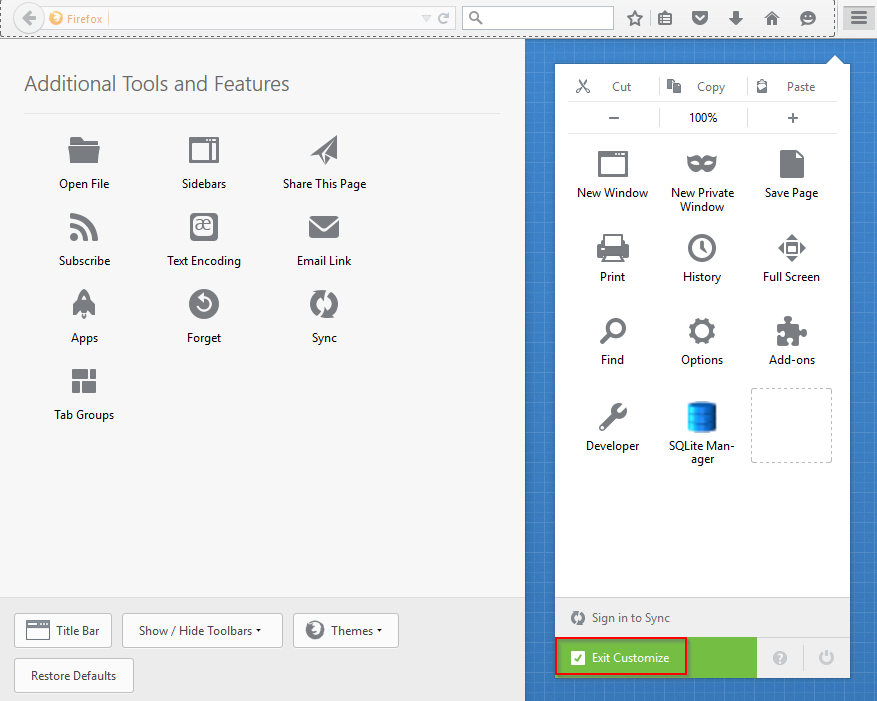
Click on Exit Customize
Now, click on the Menu icon at the top right hand side and you will now see the SQLite Manager icon. Click on that and it will launch the SQLite Manager.
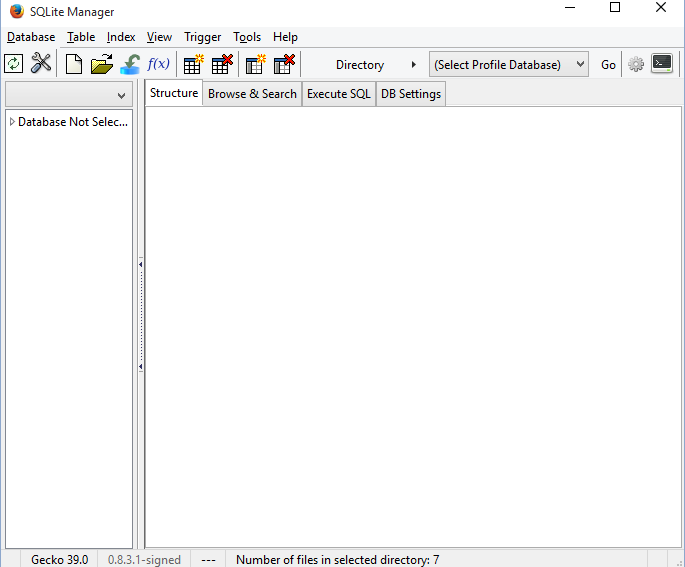
This is how the SQLite Manager looks like. Unfortunately there isn’t a version for Chrome or Internet Explorer so you have to use Firefox.


